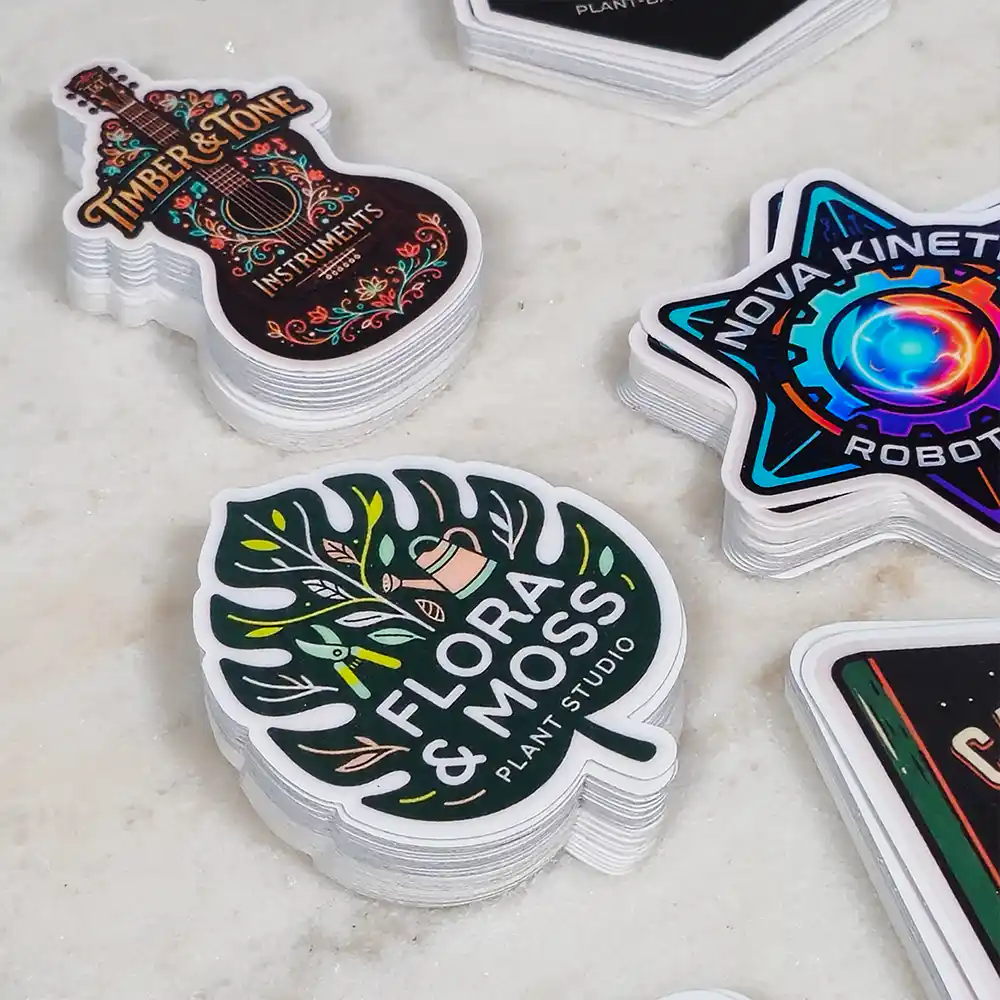
Sticker giveaways can put your design into people’s hands without requiring a large event budget. The key is to match the sticker size and quantity to your event, then make it easy for attendees to take one.
Use the steps below to estimate how many stickers you need, choose a size, and build a simple budget using the advertised prices for Promo Stickers Kiss/Die-Cut.
1. Estimate how many people will actually take a sticker
Total event attendance is a useful starting point, but it doesn’t tell you how many people will pass your booth or choose to take a giveaway. Estimate the number of recipients instead.
Use this formula:
Expected recipients = expected booth visitors × expected sticker take rate
For example, if you expect 300 people to stop by your table and estimate that 60% will take a sticker, plan for about 180 stickers. Add a buffer if you want stock for staff, repeat visitors, or stronger-than-expected interest.
For a larger event, estimate booth visitors from expected attendance:
Expected recipients = total attendance × booth-visit rate × sticker take rate
Say an event expects 1,000 attendees, 25% may visit your booth, and 70% of those visitors may take a sticker. That works out to about 175 expected recipients, before any buffer.
These are planning estimates, not guaranteed pickup rates. A visible display and an appealing design can affect how many people take one. For more event-giveaway planning guidance, see Cardinal Expo’s guide to ordering trade show giveaways.
A quick planning worksheet
| Planning question | Your estimate |
|---|---|
| Expected event attendance | ______ |
| Estimated share that will visit your table or booth | ______% |
| Estimated booth visitors | ______ |
| Estimated share of booth visitors who will take a sticker | ______% |
| Estimated sticker recipients | ______ |
| Extra quantity for staff, repeat visits, or unexpected demand | ______ |
| Planned order quantity | ______ |
If every attendee receives a sticker in a welcome bag, use your expected bag count as the baseline instead of estimating booth traffic. Add an appropriate spare quantity for packing errors or last-minute attendance changes.
2. Match sticker size to the giveaway
Smaller stickers are easy to hand out broadly. They can fit into a swag bag, sit beside a sign-up sheet, or be offered to visitors without taking up much space. Larger stickers are more visible and can feel more like a take-home keepsake, especially when the artwork has details people will want to display.
Consider what you want the sticker to do:
- 1" × 1": A compact option for high-volume distribution, event bags, or small logos.
- 2" × 2" or 3" × 3": A practical middle ground for a design people can see and keep.
- 4" × 4" to 6" × 6": Larger statement pieces for a prominent design, limited giveaway, or take-home item.
The right size depends on the artwork and how the sticker will be offered. If your design includes small text, check that it remains legible at the size you select.
3. Build your budget from the advertised prices
Use the following advertised promotional pricing to compare sticker sizes and quantities:
| Size | Quantity | Cost | Best use at an event |
|---|---|---|---|
| 1" × 1" | 330 pieces | $29 | Broad handouts, swag bags, or small logo stickers |
| 2" × 2" | 100 pieces | $29 | Table giveaways and general booth traffic |
| 3" × 3" | 100 pieces | $49 | A more visible design for interested visitors |
| 4" × 4" | 100 pieces | $69 | Take-home keepsakes or a featured design |
| 5" × 5" | 100 pieces | $99 | Larger statement stickers for a targeted giveaway |
| 6" × 6" | 100 pieces | $119 | A prominent design for limited distribution |
Use the row that best fits your estimated quantity and event purpose. If you need a different quantity, the product page offers quantities from 5 up to 10,000, with best value at 50, 100, and 200. Check the current product configuration for your chosen size, material, cut, and finish.
Free Canadian shipping helps keep the listed price easy to factor into an event plan. Review your final product selections on the page before placing an order. The advertised prices and shipping offer make the main giveaway costs clear, with no hidden costs.
To compare other sticker options, browse the sticker category.
4. Choose one design or create a set of variations
One bold design is easy to recognize and straightforward to distribute. It can be a good fit when your goal is consistent brand visibility across the event.
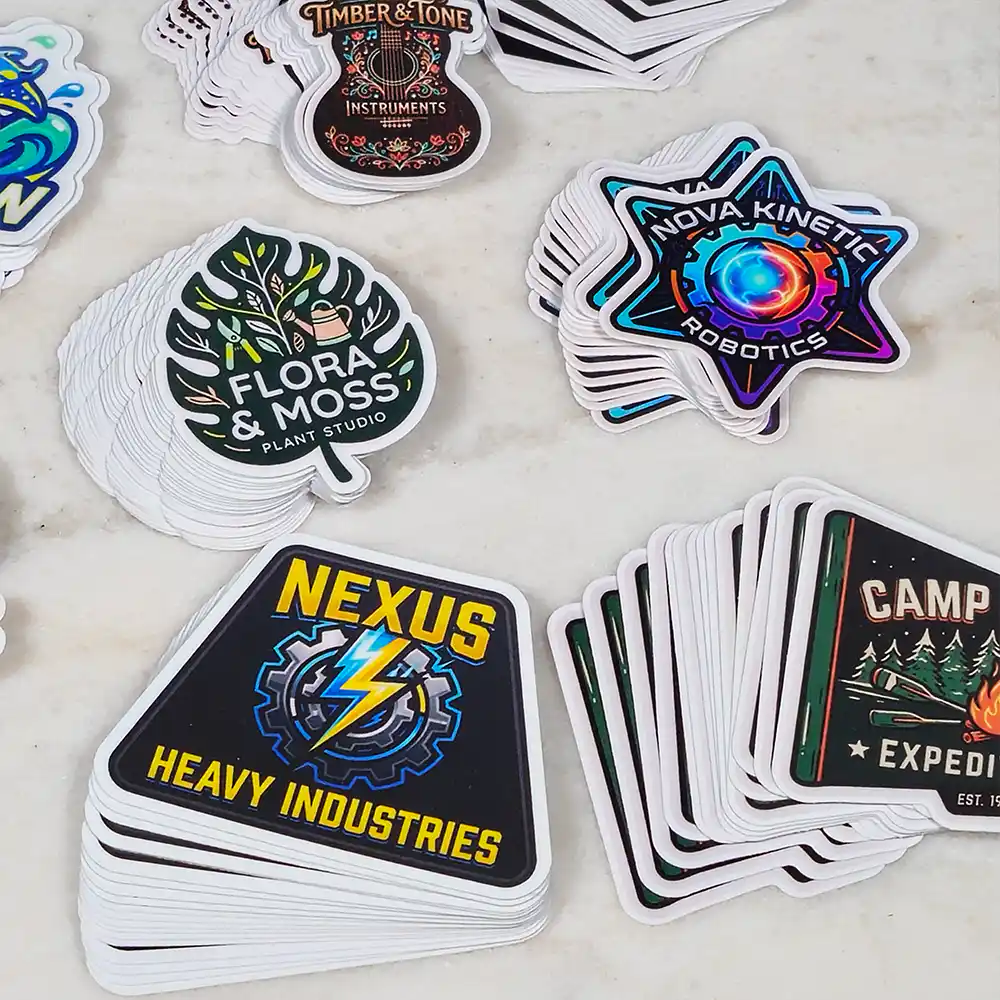
A set of variations gives people a choice and can make the giveaway more interactive. For example, an event organizer could offer several designs that share a brand mark but use different illustrations, colours, or messages. Before choosing variations, decide how you will split the total quantity. If one design is much more popular, a balanced split could leave you short of that version and with extras of another.
Use a single design when:
- You want a consistent look across all giveaway materials.
- The sticker is going into every attendee bag.
- You want to keep distribution simple.
Consider multiple designs when:
- You want visitors to choose a favourite.
- Your audience is likely to enjoy collecting a small series.
- Different designs support separate event themes or messages.
If you are dividing the order between designs, estimate the quantity for each one separately. Don’t assume every variant will be taken at the same rate.

5. Pick the cut, material, and finish for the setting
The product page offers Die-Cut stickers, trimmed to the outline of the design, and Kiss-Cut stickers, where the sticker is cut through the top layer and remains on an easy-peel backing sheet.
Available material options include:
- Removable / Low Tack Vinyl
- Repositionable Vinyl (opaque white)
- Permanent Vinyl
- High Tack Vinyl (opaque white)
- Static Cling
- Silicone Back PET Film
- Holographic Vinyl
- Reflective Vinyl
You can also choose no lamination, Glossy, Matte, Glossy UV, or Holographic Glitter lamination. The stickers are full-colour, waterproof, and fade-resistant. White and Clear vinyl options are available.
Think about how attendees may use the sticker: on personal items such as laptops, phones, or water bottles, or as a corporate promotional item. Select the material and finish that suit your intended application, and review the product options before ordering.
6. Make the giveaway easy to manage on event day
A clear distribution plan helps your sticker budget go further. Keep a general design available for walk-up visitors, and consider reserving a particular design or larger size for people who join a mailing list, visit a demonstration, or take part in an activity.
Before the event:
- Set an opening quantity for each design.
- Decide whether stickers are free for all visitors or tied to an activity.
- Keep the giveaway visible and easy to reach.
- Track how many you distribute during the event.
- Note which sizes or designs people choose most often.
Afterward, compare actual distribution with your estimate. That gives you a more useful starting point for the next event than relying on attendance alone.
Plan your next sticker giveaway
Start with expected recipients, select a size that fits the design and distribution plan, then use the price table to set a realistic budget. Smaller stickers can support broad distribution; larger designs can serve as more prominent keepsakes. Choose one design for a consistent look or offer variations when choice supports your event.
Explore sizes from 1" × 1" to 6" × 6", Die-Cut and Kiss-Cut options, and the available materials and finishes on the Promo Stickers Kiss/Die-Cut product page. Sticker printing and shipping are handled in-house in Canada, and Canadian shipping is free.