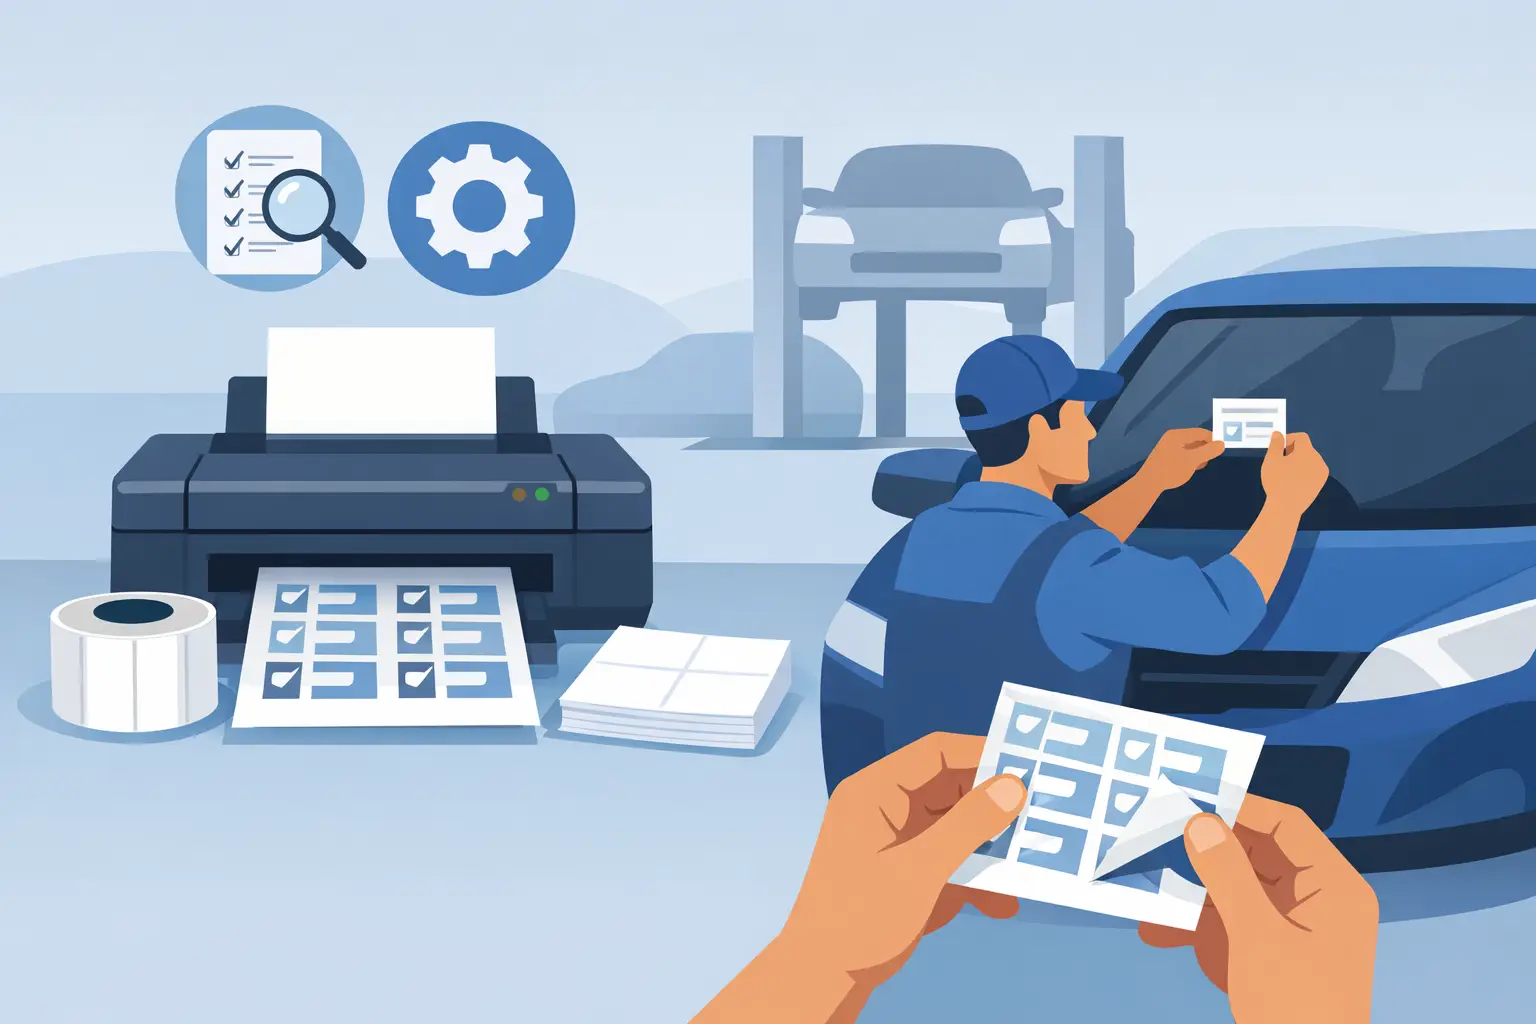
A PDI sticker has one job: make it clear that a vehicle has moved through the pre-delivery inspection process and is ready for the next step. If the sticker is hard to read, falls off the glass, or leaves no room for technician details, it creates confusion at exactly the point where your delivery process needs to be tight. Knowing how to print PDI inspection stickers properly helps your dealership or service department keep inspections visible, consistent, and accountable.
This is not a decorative print piece. A good PDI inspection sticker is a working tool for technicians, lot staff, service advisors, and delivery teams. It needs the right information, a clean layout, and material suited to where it will be applied.
Start With the Job the Sticker Needs to Do
Before choosing a size, design, or print method, decide how your team uses PDI stickers. Some dealerships place them on the windshield as a quick visual signal that the vehicle has completed inspection. Others use them to record inspection dates, technician initials, stock numbers, or items still requiring attention before customer delivery.
That use determines the layout. A simple pass sticker may only need space for a date, stock number, and initials. A more detailed process may require checkboxes for fluid levels, tire condition, warning lights, road test status, accessories, and final quality control. Trying to fit every possible inspection point onto a small windshield label usually makes the sticker less useful. Keep the sticker focused on the information people need to see at a glance.
If your shop already uses a full PDI checklist on paper or in a digital system, the sticker should support that workflow rather than duplicate it. In that case, a compact completion label with a reference number may be the better choice. The full checklist remains in the vehicle file, while the sticker gives the lot and sales teams a visible status marker.
Choose a Practical PDI Sticker Size and Layout
PDI stickers need enough writing space without blocking the driver’s view or cluttering the windshield. A rectangular format is common because it accommodates fields cleanly and is easy to position. The best size depends on the amount of information you need and where the label will be placed.
Use a clear hierarchy. The words “PDI Completed,” “Pre-Delivery Inspection,” or another status line should be the most visible element. Below that, add the fields staff must complete. Larger labels can include a small checklist, but avoid tiny type and crowded boxes. A technician should be able to write on the label quickly while standing beside the vehicle.
A practical layout often includes these four core items:
- Vehicle stock number, VIN reference, or unit number
- Inspection completion date
- Technician initials or employee number
- Final status, such as completed, hold, or recheck
If your dealership has multiple departments handling a vehicle before delivery, include a space for final approval. That small field can prevent a vehicle from being moved to the delivery area before the responsible person signs off.
Your logo and dealership contact information can be included, but do not let branding take over the usable writing area. PDI labels are operational products first. A clean logo and readable dealership name reinforce professionalism without getting in the way of the job.
Select Materials That Match the Application
Material choice affects whether the sticker stays in place, writes cleanly, and removes properly when the vehicle is delivered. For most PDI windshield applications, use a quality label material designed for short-term indoor or vehicle-glass use. The right adhesive depends on whether the label must remain through lot storage, washing, weather exposure, and final delivery preparation.
A removable adhesive is usually the practical choice when the sticker will be taken off before the customer receives the vehicle. It should hold securely during normal handling but peel away without leaving adhesive residue. If the label is intended for a more permanent record location, such as a door jamb or internal service file, a stronger adhesive may be appropriate.
Paper labels can work for dry indoor processes, but they are less forgiving around moisture, grease, cleaning products, and frequent vehicle movement. For windshield labels and lot use, durable synthetic stock is often the better investment. It resists tearing and holds up better when the weather changes or vehicles are cleaned before delivery.
Also consider how technicians will write on the sticker. If the label will be completed by hand, test your intended marker or pen on a sample first. Some glossy materials can smear with certain inks. A writable finish or designated write-in panel can save time and prevent illegible notes.
How to Print PDI Inspection Stickers in a Consistent Process
Once your design and material are set, the printing process should be repeatable. That matters most for dealerships and shops that process vehicles every day. Consistency reduces wasted labels, prevents version mix-ups, and makes it easier for every department to recognize the sticker.
Start with a print-ready file built to the final sticker dimensions. Keep important text and writing fields away from the trim edge. If you are printing full-color logos or colored status sections, use high-resolution artwork so small lettering remains sharp. Thin lines, faint gray text, and overly small checkboxes tend to disappear once the label is printed and handled.
For in-house printing, use a printer that can reliably handle your chosen label stock. Laser and thermal printing can be useful for variable information, depending on the material and the amount of information being added. However, not every label stock is compatible with every printer. Heat can affect adhesives and coatings, while ink may not bond properly to some synthetic materials.
A common approach is to professionally print the base PDI sticker with the dealership name, logo, standard fields, and inspection headings. Then your team writes in the changing details by hand. This approach works well when you need a durable, consistent label without the cost or complexity of printing a unique sticker for every vehicle.
If you need each sticker to include vehicle-specific details, a variable-data setup may be worth considering. This is more useful for high-volume operations with standardized intake records. The trade-off is that your process must be accurate. A sticker printed with the wrong stock number or VIN reference can create more confusion than a blank write-in field.
Test Before You Order or Print in Volume
A small test run can reveal problems that are easy to miss on screen. Apply a sample to the intended windshield area. Check whether the text is readable from outside the vehicle, whether staff can write on it comfortably, and whether it removes cleanly after several days.
Test under real shop conditions. Run the vehicle through your usual wash or detailing process if the sticker will still be present. See how the label handles temperature swings, sunlight, cleaning spray, and normal vehicle movement. A sticker that looks fine on a desk may fail once it reaches the lot.
Ask the people who use the labels for feedback. Technicians may need larger fields. Sales staff may want a more obvious completed status. Lot personnel may need a color-coded system to separate inspected vehicles from units on hold. These are practical adjustments that can improve the entire delivery workflow.
Avoid Common PDI Sticker Problems
The most common mistake is treating a PDI label like a miniature inspection form. When too much information is squeezed into a small space, nobody can quickly identify the vehicle status. Keep the sticker focused, and use a separate checklist for detailed inspection tasks.
Another issue is ordering a material based on price alone. Low-cost labels can create expensive friction when they curl, fade, tear, or leave residue on vehicle glass. The best value is a label that performs consistently and avoids rework.
Finally, make sure your wording matches your actual process. Do not print “PDI Complete” if the sticker is applied before final sign-off. If a vehicle can still be waiting on a repair, accessory installation, or detailing step, use status fields that reflect that reality. Clear labels support accountability. Vague labels create assumptions.
For dealerships and service departments that need dependable, repeatable label products, StickerPlanet Canada can produce PDI inspection stickers with practical layouts, quality materials, and branding that fits your operation. Whether you need a straightforward stock label or a custom format for your delivery process, the goal is the same: make vehicle status easy to see and easy to trust.
A well-printed PDI sticker may be small, but it helps protect a bigger process. When every vehicle carries a clear inspection status, your team spends less time asking what happened and more time getting the next vehicle ready for delivery.